Microtopping Texture Seamless: 7 Unbeatable Tips in 2025

Microtopping

Table of Contents

  1. Introduction: Why Microtopping Texture Seamless Matters
  2. Key Benefits of a Seamless Microtopping Texture
  3. Selecting the Right Microtopping System
  4. Surface Preparation for Seamless Texture
  5. Application Techniques for Flawless Finish
  6. Curing, Sealing & Maintenance Tips
  7. Common Challenges & How to Solve Them
  8. FAQs: Microtopping Texture Seamless
  9. Next Steps: Request Your Free Jaks Colors Quote
  10. Recommended Image Alt Texts
  11. Related Keywords
  12. External & Internal Links
  13. Questions for Review

Introduction: Why Microtopping Texture Seamless Matters

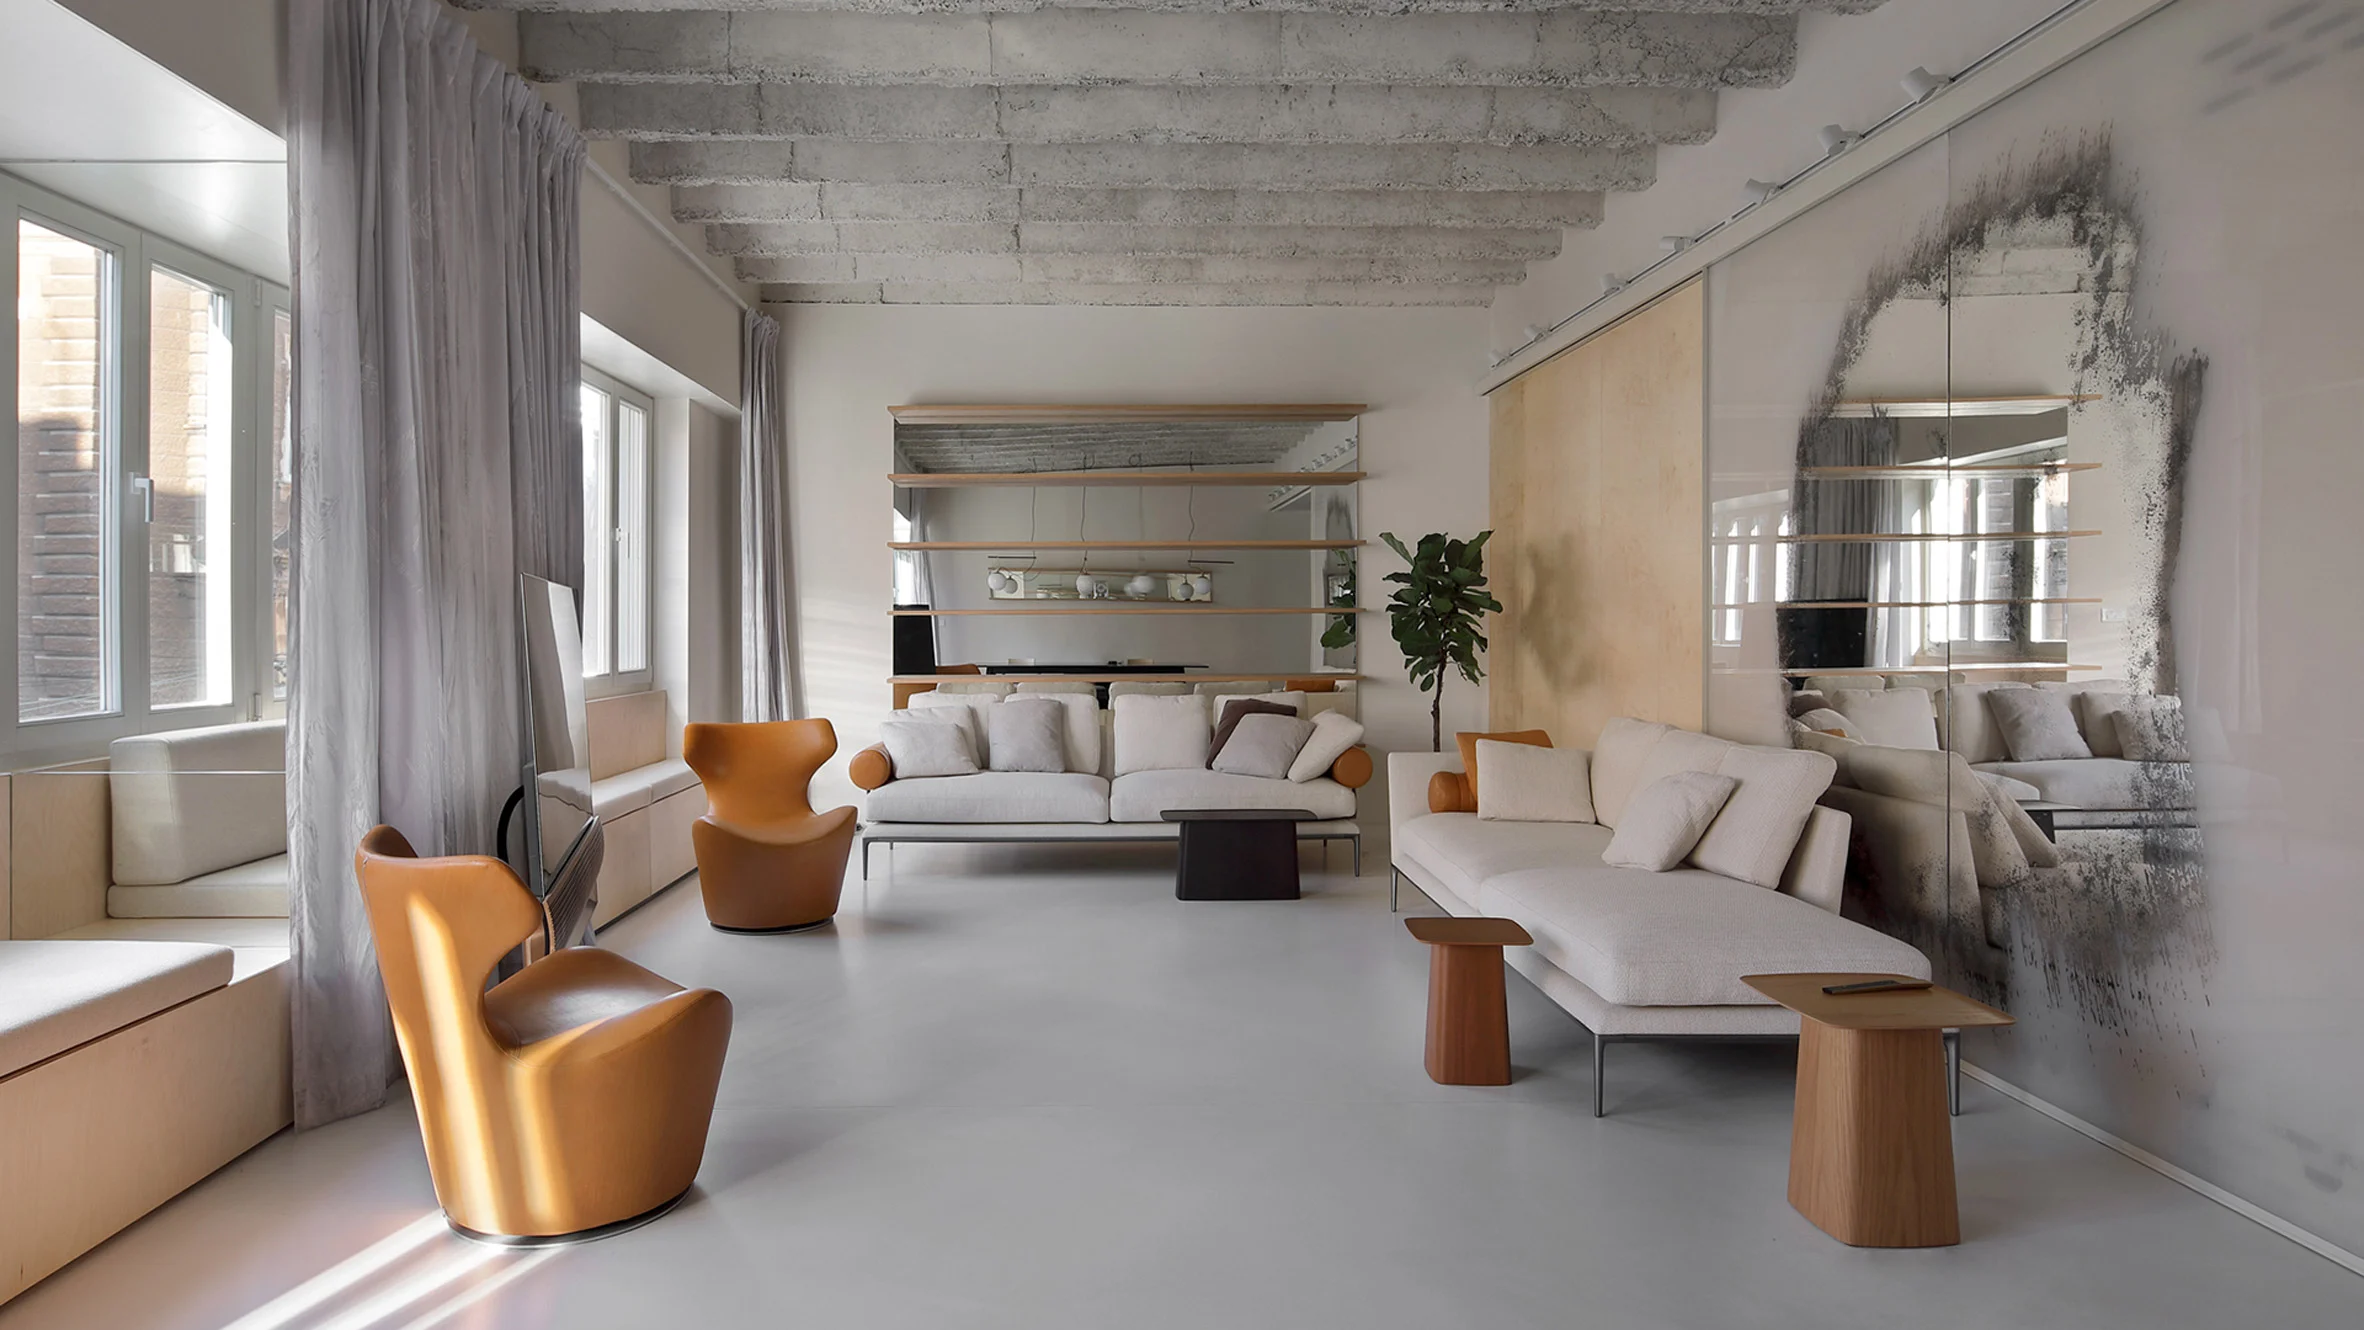
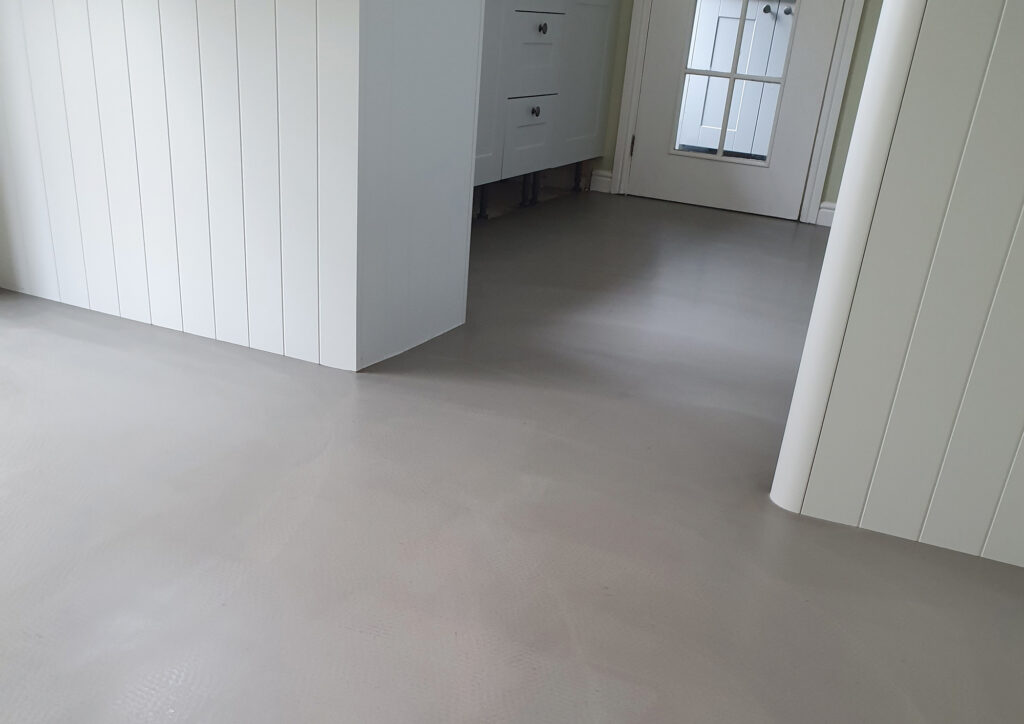
A microtopping texture seamless floor offers the perfect blend of modern design and functionality. Unlike traditional overlays, a seamless microtopping creates a uniform, low-profile surface that resists stains, water, and heavy traffic. Jaks Colors’ experts deliver customized finishes tailored to residential, commercial, and industrial spaces—ensuring a flawless, durable surface that lasts for years.


Key Benefits of a Seamless Microtopping Texture

  • Uniform Appearance: No visible seams or lines, ideal for contemporary interiors.
  • Thin & Lightweight: Adds minimal thickness (1–3 mm) to existing floors while providing high strength.
  • Enhanced Durability: Resists cracking, abrasion, and moisture when installed correctly.
  • Design Flexibility: Wide palette of colors, aggregates, and surface treatments for unique looks.
  • Low Maintenance: Easy to clean—just sweep and mop with neutral cleaners.

Selecting the Right Microtopping System

Choose a system based on your project needs:

  • Cement-Based Microtopping: Traditional blend for interior floors—offers strong bond and matte finish.
  • Polymer-Modified Microtopping: Enhanced adhesion and flexibility—ideal for high-moisture areas.
  • Self-Leveling Underlay & Microtopper: Combines leveling compound with decorative microtopping for uneven surfaces.

Discuss substrate conditions and traffic demands with Jaks Colors to pick the optimal formula.


Surface Preparation for Seamless Texture

Proper prep ensures adhesion and longevity:

  1. Clean Thoroughly: Remove dust, oil, sealers, and coatings using mechanical grinders or shot blasters.
  2. Repair Cracks & Joints: Fill cracks with epoxy or cementitious fillers—bridging joints with flexible sealants.
  3. Prime & Bond Coat: Apply bonding primer to enhance microtopping adhesion and control moisture vapor.

Skipping steps can lead to delamination or uneven texture.

microtopping texture seamless
Smooth Self Leveling Floor in a Commercial Space by Jak’s Colors

Application Techniques for Flawless Finish

Follow these professional tips:

  • Consistent Mixing: Use a paddle mixer at recommended RPM—avoid lumps by adding powder to water, not vice versa.
  • Thin, Multiple Coats: Apply 1–2 mm per coat—allow light sanding between layers for uniform texture.
  • Trowel & Roller Work: Use stainless-steel trowels for initial spread, then light rolling or sponging for desired effect.
  • Edge Control: Feather microtopping into adjacent surfaces to avoid ridges—use hand tools around walls.

Practice techniques on a sample area before full installation.


Curing, Sealing & Maintenance Tips

  • Curing Time: Protect new microtopping from traffic for 24–48 hours; full strength in 7 days.
  • Sealers & Finishes: Choose water-based polyurethane or penetrating sealers—two thin coats for optimal protection.
  • Routine Cleaning: Sweep daily; mop weekly with pH-neutral cleaner. Avoid acidic or abrasive products.

Proper sealing prolongs color integrity and prevents moisture ingress.


Common Challenges & How to Solve Them

  • Delamination: Caused by moisture or poor prep—ensure primer and substrate tests before application.
  • Uneven Texture: Results from inconsistent trowel pressure—train installers on technique and pace.
  • Color Variations: Batch-to-batch pigment differences—mix products from same batch and dry samples to verify.

Early detection and corrective steps keep your seamless texture perfect.


FAQs: Microtopping Texture Seamless

Q1: Can microtopping be applied over existing tile?
Yes—remove grout and roughen tile, then prime and apply microtopping as usual.

Q2: How thick is a typical microtopping?
Standard thickness ranges 1–3 mm; self-leveling systems may add 3–5 mm.

Q3: Is the surface skid-resistant?
Add fine sand or aggregates in the final sealer to improve traction in wet areas.


Next Steps: Request Your Free Jaks Colors Quote

Ready for a stunning microtopping texture seamless finish? Contact Jaks Colors for a no-obligation estimate:


Recommended Image Alt Texts

  1. Close-up of seamless microtopping texture on living room floor – microtopping texture seamless
  2. Installer troweling a thin microtopping overlay – application for microtopping texture seamless
  3. Polished vs. matte microtopping surface comparison – microtopping texture seamless finish options
  4. Primed substrate ready for microtopping – prep for microtopping texture seamless
  5. Modern kitchen with continuous microtopping flooring – microtopping texture seamless installation

Related Keywords

  • seamless microtopping floors
  • microtopping finish ideas
  • thin microtopping overlay
  • microtopping maintenance tips
  • polymer microtopping system

External & Internal Links

External Resources:

Internal Links:


Contact Jak's Colors Today

Ready to enhance your space? Call us now to schedule your installation and get started on transforming your floors.

(+1) 203-252-8941